Contouring
10 tips to use shadow and light deliberately to redefine your features
-
First determine your face shape for a tailored result
Successful contouring starts with analysing your individual face shape — whether round, square, heart-shaped or oval. Only when you know where your face needs more depth or visual slimming can you contour with purpose.
-
Prepare your skin optimally
Clean, well-cared-for skin is the basic requirement for a flawless result. Cleanse your face thoroughly and apply your usual daytime care so products distribute evenly. A primer also creates a smooth surface, minimises pores and extends the longevity of your contouring — a secret of many make-up artists.
-
Choose quality products
For a natural result, the contour shade should be at most two to three shades darker than your skin tone. Avoid strongly yellowish tones as they can look unnatural. Creamy or powder highlighters and light eyeshadows work well for highlights.
-
Work with the 3-zone principle for clear but natural definition
Apply the contour shade strategically beneath the cheekbones, to the outer forehead and temple areas, and along the chin and jawline. These three classic shadow zones immediately add depth and structure to your face — without appearing artificial. With this principle you elegantly sculpt your features and achieve a look that is both everyday-friendly and professional.
-
Adapt your contouring to your individual face shape
Depending on your face shape, place contours differently to support your natural balance. A round face benefits from lateral shadows at the forehead, cheeks and jaw for more length, while a square face needs softer contours to harmonise strong lines. For heart-shaped faces, contours at the forehead and temples help balance the width of the upper face, and oval faces often need only subtle accents along the cheekbones. This way you showcase your personal proportions to best effect.
-
Use highlights deliberately to give your skin radiance
Light accents lift the areas that naturally catch light — and make your face look instantly fresher and more youthful. Place the highlighter on the upper cheekbones, along the bridge of the nose, at the centre of the forehead, on the Cupid's bow and on the chin to refine your look harmoniously. This creates a gentle glow that complements your contours and adds dimension to your make-up.
-
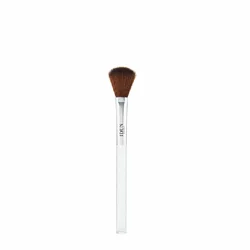
Blend carefully — for a professional, seamless finish
The most important rule in contouring: contours should never remain visible. Use a fluffy brush or a slightly damp make-up sponge to gently blend shadows and highlights into the foundation. Well-blended transitions ensure the result looks natural and high-quality.
-
Visually shape your nose
Two fine lines along the sides of the nose can make it appear narrower. A highlighter on the bridge of the nose adds extra definition. Be careful to softly diffuse the lines for an elegant, not artificial, effect. Especially creamy products are easy to handle here.
-
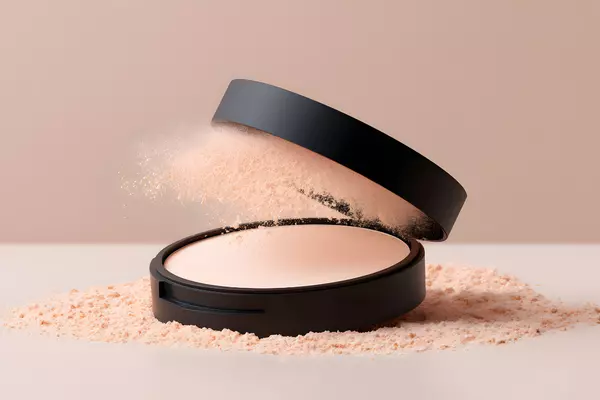
Set your contouring — so it lasts all day
A translucent setting powder or a setting spray seals your make-up and prevents the contours from running later. Mattifying products are ideal for combination or oily skin, while hydrating sprays help preserve a fresh appearance on dry skin.
-
Remove make-up thoroughly in the evening to protect your skin
Perfect contouring ends with an appropriate cleansing routine. Start with a make-up remover or cleansing oil to dissolve cream and powder products. Then a mild gel or foam cleanser cleanses the skin deeply. A moisturising night cream helps your skin regenerate overnight — the best foundation for fresh contouring the next day.